
Understanding the Appliance Repair Process: A Step-by-Step Guide
QS
Introduction to Appliance Repair
Appliance repair can seem daunting, but understanding the process can make it much more manageable. Whether your washing machine has stopped spinning or your refrigerator isn’t cooling, knowing what to expect can help ease the stress.
This guide will walk you through each step of the appliance repair process, providing you with the knowledge you need to tackle these issues confidently.
Identifying the Problem
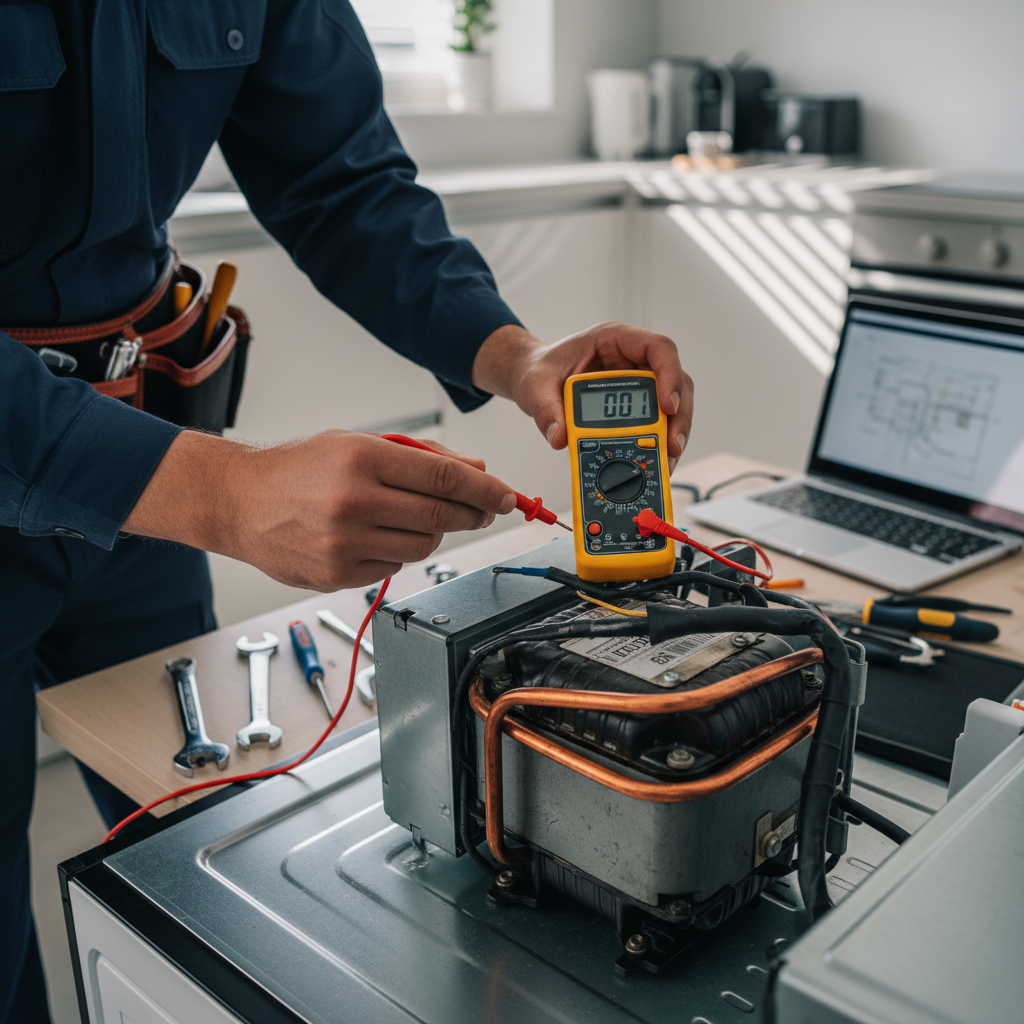
The first step in any repair process is identifying the problem. Is your appliance making strange noises, or is it simply not functioning as it should? Take note of any unusual behavior, as this information will be crucial in diagnosing the issue.
Once you have a clear understanding of the symptoms, you can start researching potential causes. Online forums and the appliance’s manual are great resources to consult during this stage.
Gathering Tools and Parts
After identifying the problem, the next step is to gather the necessary tools and replacement parts. Common tools for appliance repair include screwdrivers, multimeters, and pliers. You may also need specific parts, which can usually be ordered online or purchased from a local hardware store.
Ensure that you have the correct model number of your appliance when ordering parts, as this will ensure compatibility and save time in the long run.
Safety Precautions
Before attempting any repair, it’s crucial to follow safety precautions. Unplug the appliance or switch off the circuit breaker to prevent electrical shocks. Wear safety gloves and goggles if necessary, especially if dealing with sharp components.
Remember, if at any point you feel uncomfortable or unsure, it’s best to consult with a professional technician.
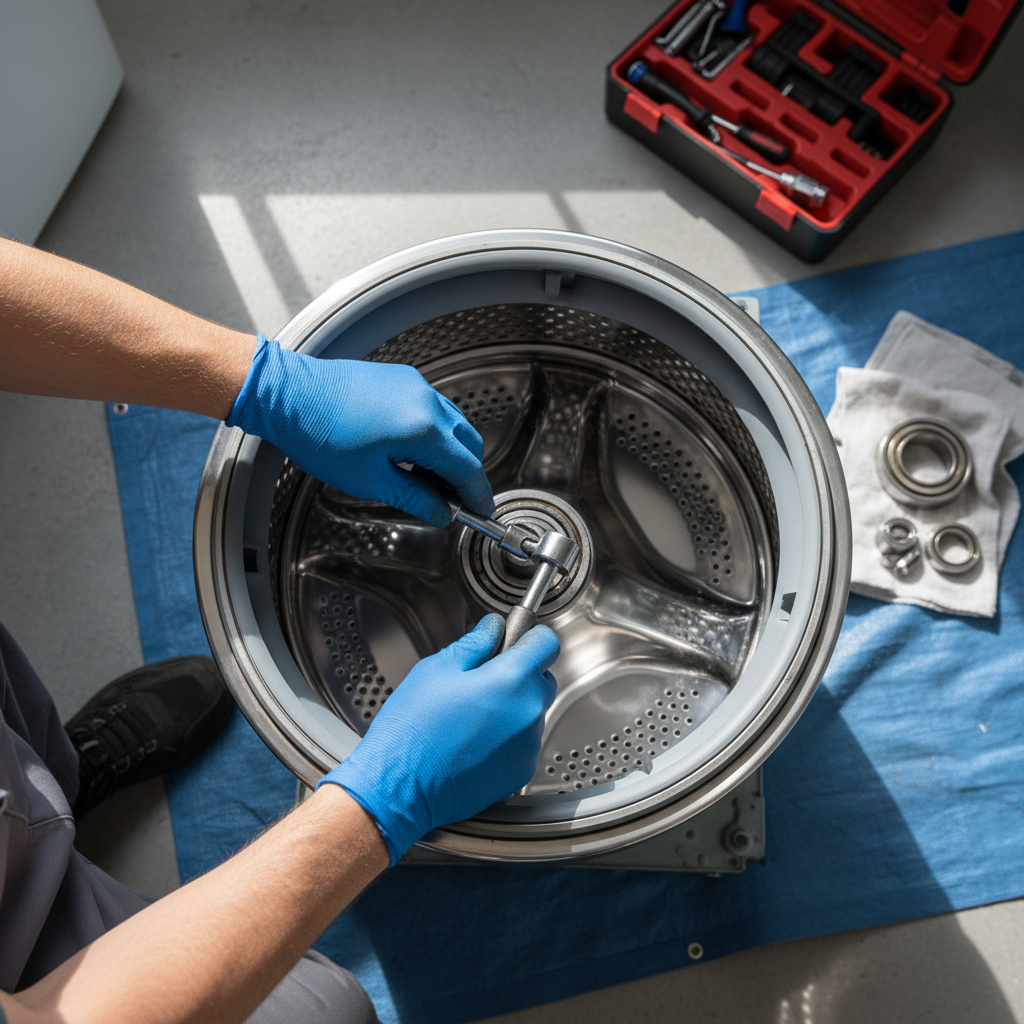
Disassembling the Appliance
With safety measures in place, you can begin disassembling the appliance. Carefully remove any screws or panels to access the faulty components. Keep track of all screws and small parts to ensure easy reassembly later.
Documenting the process with photos can be helpful, especially if it’s your first time working on a particular appliance.
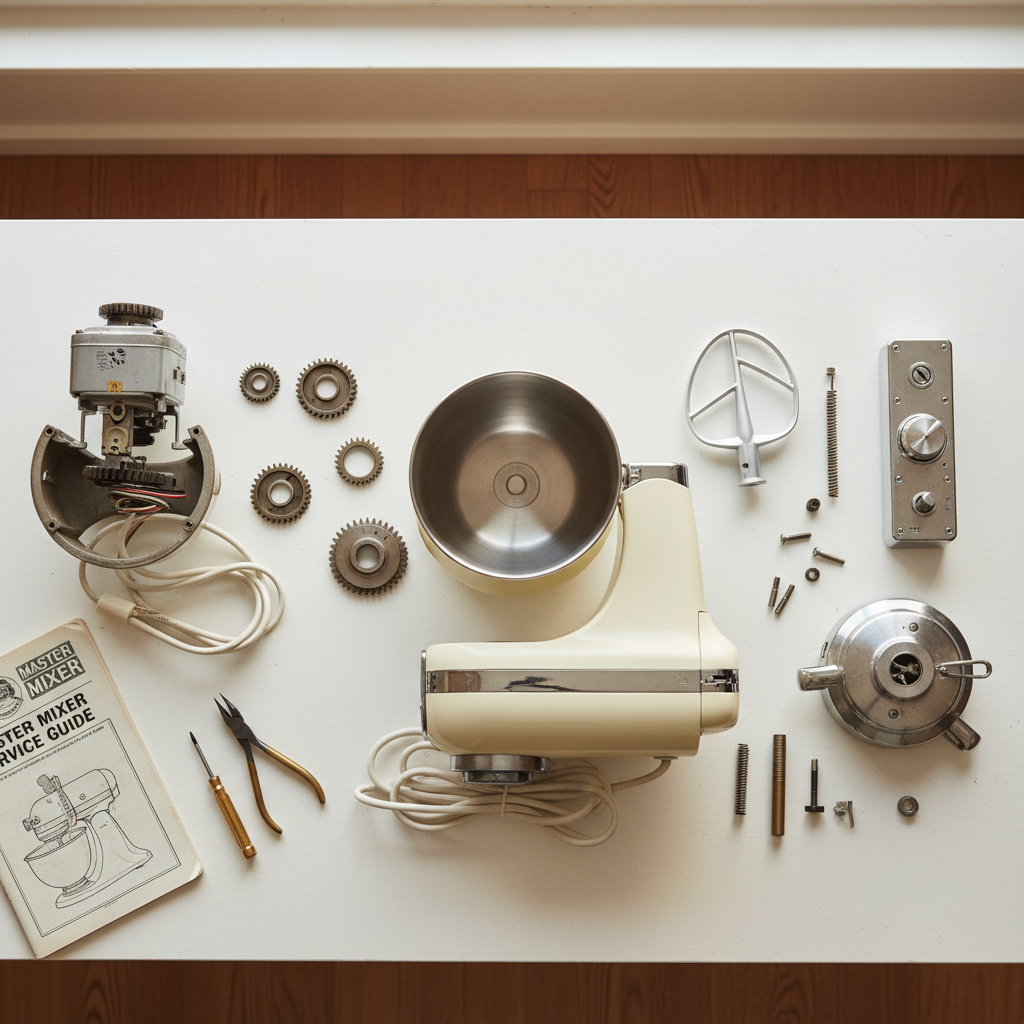
Repairing or Replacing Components
Once you have access to the internal components, proceed with the necessary repairs. This may involve tightening loose connections, replacing faulty parts, or reassembling broken pieces. Follow guides or video tutorials if available, as they can offer step-by-step assistance.
Take your time and be patient, as rushing through repairs can lead to further damage.
Reassembling and Testing
After completing the repairs, carefully reassemble the appliance. Double-check that all parts are securely in place and that no pieces are left over. Once reassembled, plug the appliance back in and perform a test run to ensure it’s functioning correctly.
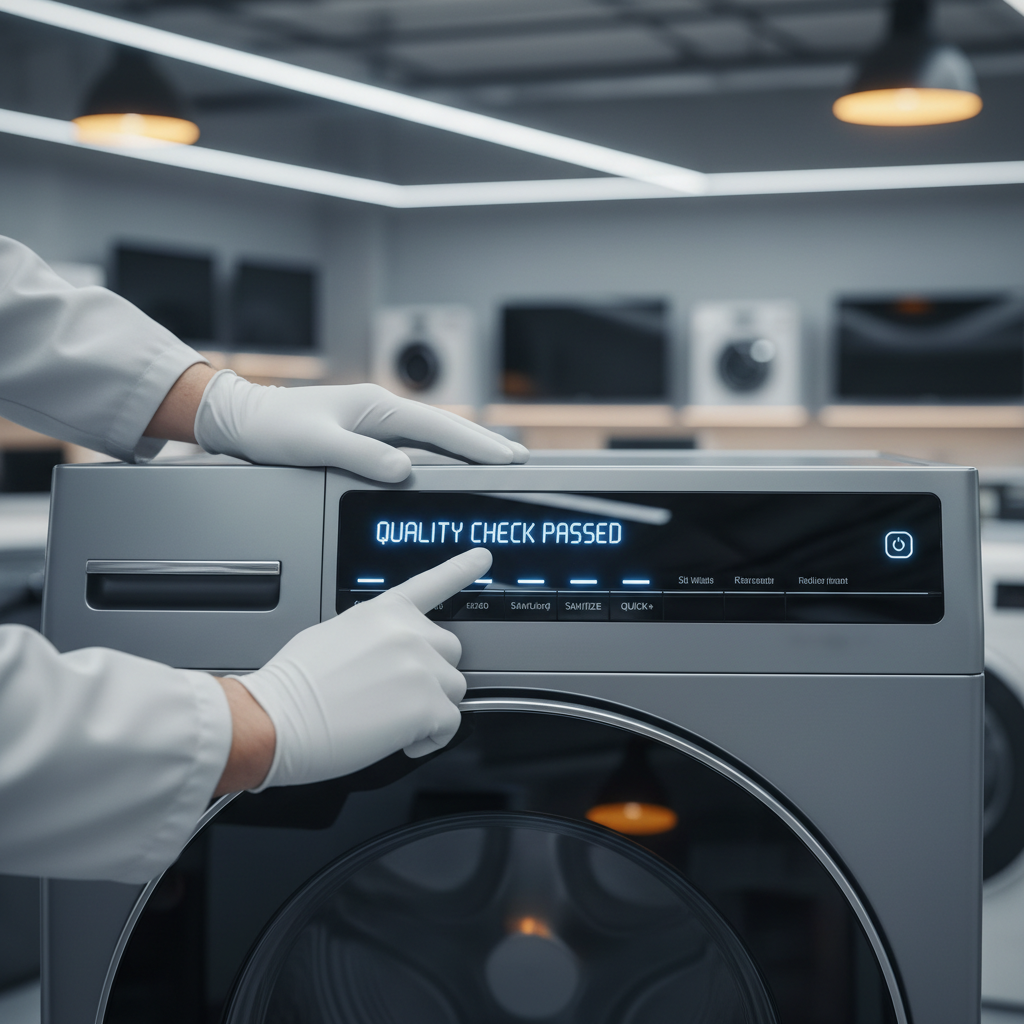
If the issue persists, you may need to revisit the earlier steps or consult a professional for further assistance.
Conclusion
Understanding the appliance repair process can save you time and money while extending the life of your appliances. By following this step-by-step guide, you can approach repairs with confidence and reduce the stress associated with appliance malfunctions.
Remember, while DIY repairs are possible, don't hesitate to seek professional help if needed. Your safety and the proper functioning of your appliances are always the top priorities.